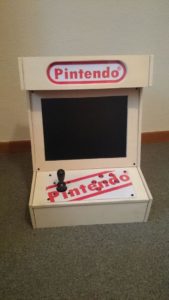
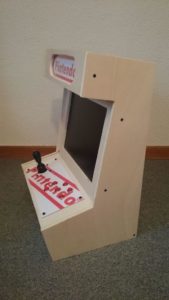
A few months ago, I decided that I wanted an all-in-one arcade machine. I started looking for some info on how to build one, and immediately, the name “Raspberry Pi” came up. This Christmas, I got a couple of them. I started experimenting with a few operating systems, and Retropie became my favorite retro gaming os. The pictures show my finished arcade machine
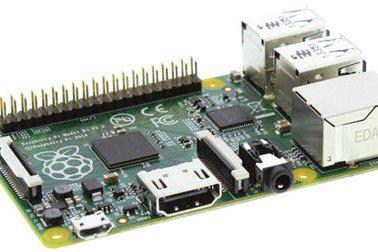
Step 1: Choose Your Raspberry Pi
Step 2: Choose Your Screen
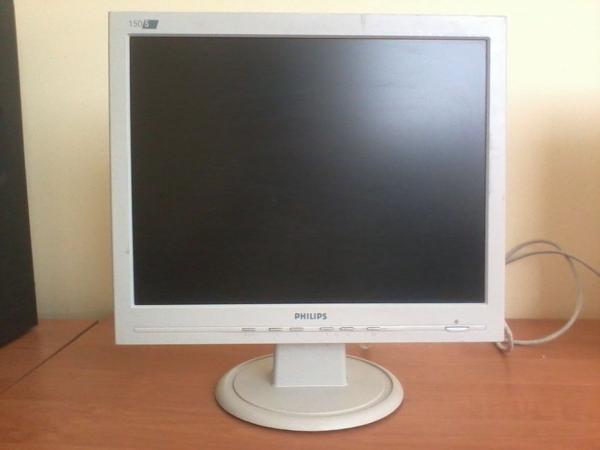
Monitors aren’t cheap, so you can’t be picky if you to find something cheap. Ideally, it should have an HDMI port, but that brings the price tag up. I went to a thrift shop, and found a Philips 150S 1024×768 monitor for 14.50€, which is around 17 USD. Unfortunately, it had a VGA port. That means you need an HDMI to VGA converter. Not all converters work, and unfortunately, I learnt that the hard way. I finally found one that worked perfectly on Amazon. Here’s the link:
http://www.amazon.co.uk/Neewer-Black-Adapter-Conve…
Not all screens are the same, and if it was cheap, it’s probably not the best quality screen. If you’re having problems with the raspberry pi detecting the right screen height and width, adjust the overscan settings in config.txt. To access the config.txt file, remove your SD or MicroSD card, plug it in your computer, and it’s in the root directory (boot). Edit it with a program such as Notepad++.
Step 3: Installing Retropie and Drivers

Now you have to install your operating system of choice. I chose Retropie, so that’s the one I’m gonna explain. First off, you need to download the Retropie image. Here’s a link to the the official download page:
http://blog.petrockblock.com/retropie/retropie-dow…
Once that’s done, flash it on to your SD card ( must be at least 4 GB). Now you have to install the Retrogame driver, to enable the use of buttons and joysticks wired to the gpio. Here’s a download link with instructions on how to install it:
https://learn.adafruit.com/retro-gaming-with-raspb…
However, all this can be a hassle. So here’s an image of Retropie 2.3 with everything installed, ready to use, compiled by Instructables user rbates4:
EDIT: New link
http://www.retrobuiltgames.com/porta-pi-arcade-help/porta-pi-software-os-download/
All you have to do is flash it.
Step 4: Test It Out
Ok, now you’ve got the basic components. Grab your keyboard and test it out. Make sure Retropie doesn’t give errors, adjust the overscan settings, and just make sure everything in general works.
Step 5: Buttons and Joystick
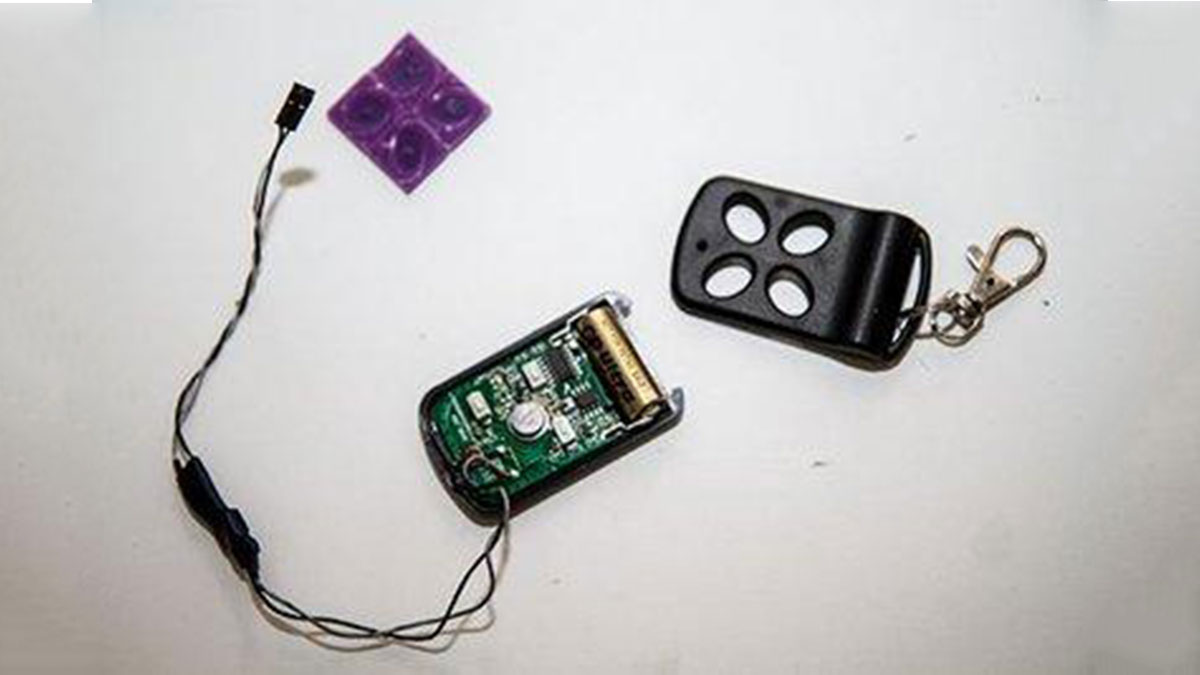
First off, you’re going to need a joystick. I found mine in a local electronics store in Spain. I also found one online which is nice and works perfectly with the arcade machine:
http://blog.adafruit.com/2011/10/13/new-product-sm…
You’re also going to need buttons. I decided that 6 buttons were good enough, but I’d recommend getting 10 if you want to easily play any game. These should work fine:
http://www.adafruit.com/product/473
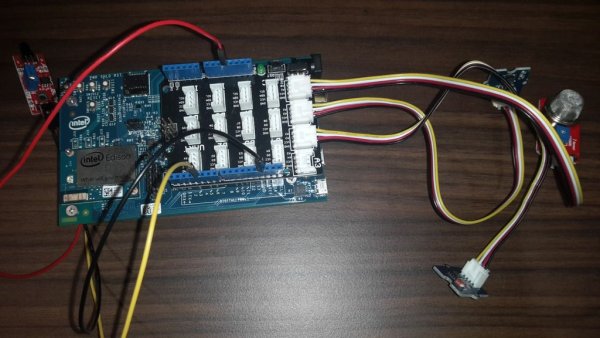
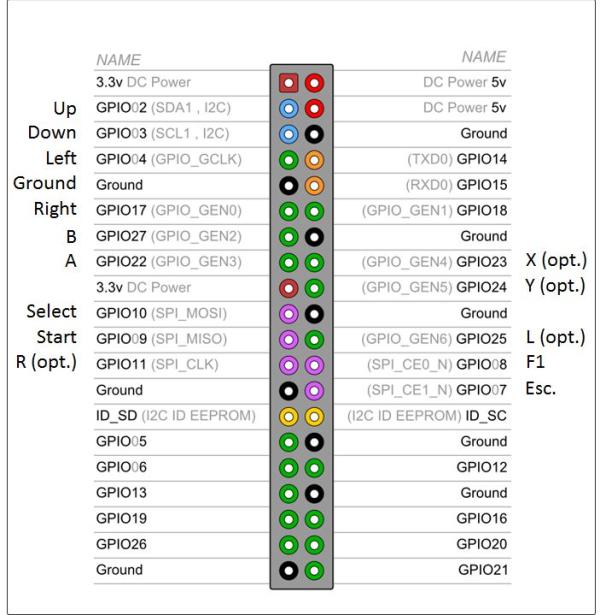
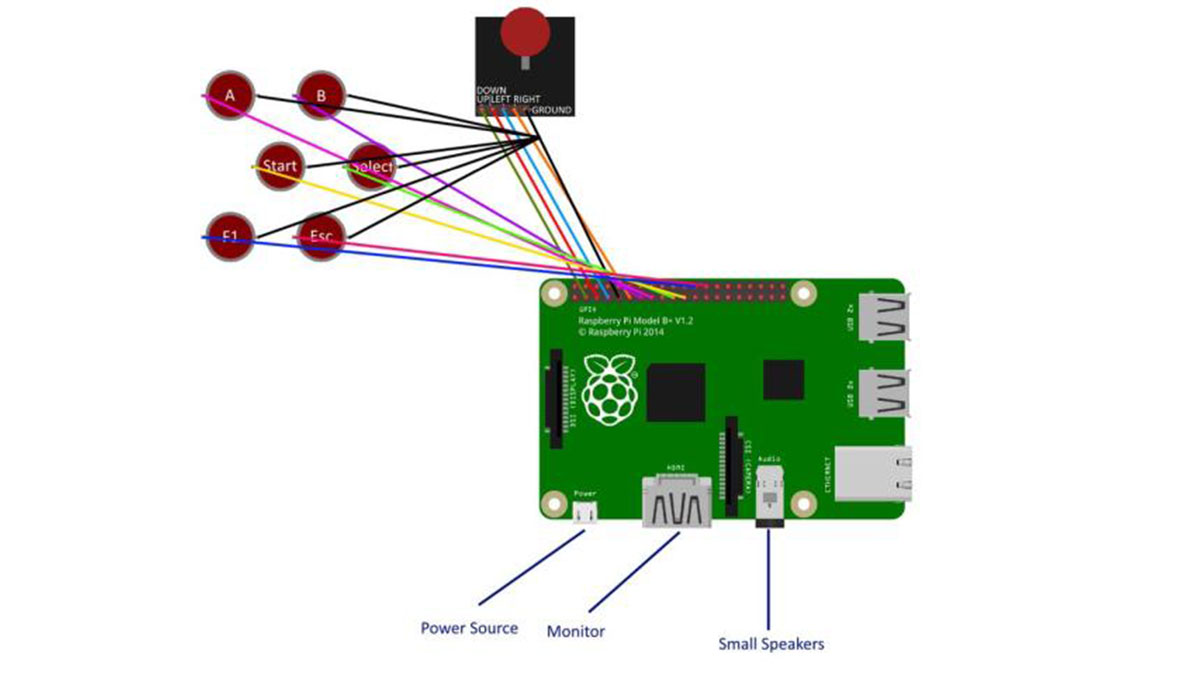
The picture above shows where each button and joystick pin must be wired. The (opt.) mentioned after a few of the pins means that it’s optional. I use my arcade without them. Due to a small amount of ground pins, I soldered all the ground wires together from each button and joystick, and just used 1 ground pin, which is depicted on the image.
Now just go to Retropie, use your keyboard and to access the start menu, select configure input, and set your selected buttons to whatever you want.
Step 6: Building the Body
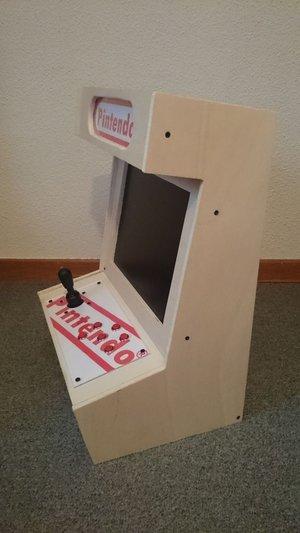
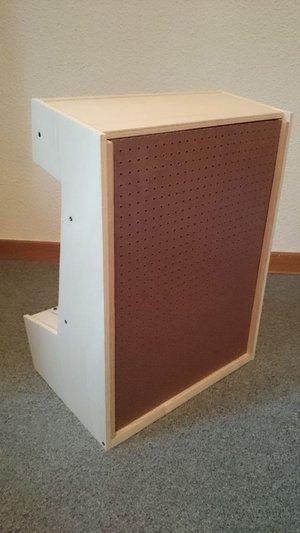
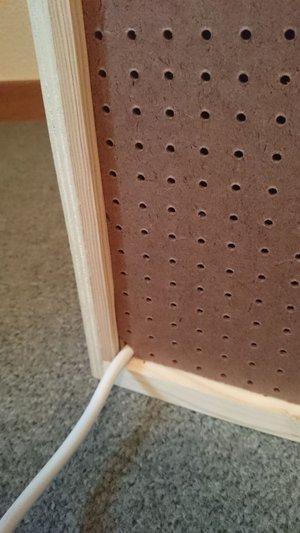
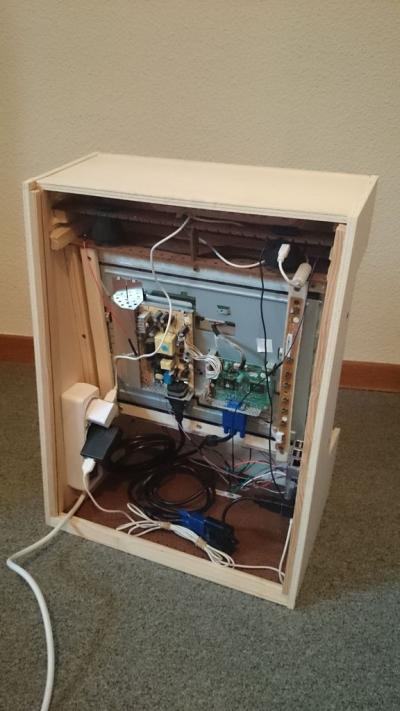
Since the monitors differ from one another, the casing for the arcade machine will differ. My dimensions would be useless, so here are a few pictures of the main design. I used a sliding back cover to easily access the electronics. I left a hole for the power strip inside, which I use to power the RPi, the monitor, and the speakers.
Step 7: Speakers
If you want sound, you need speakers. The minimum requirement is that they have a 3 (or more) watt amplifier, and that it uses the standard 3.5mm jack. I stuck mine in the area above the screen, and sound comes out well.
Step 8: Optional

I decided I wanted to make the logo glow, like in the real arcade machines. I just used a strip of LEDs, and wired one side to the 5 volt pin on the RPi, and another to a ground pin.
Step 9: Finished Product
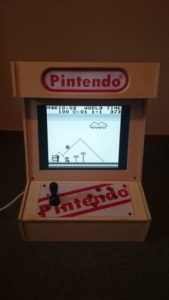
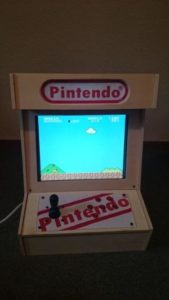
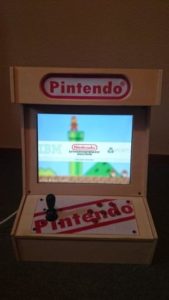
The bartop Raspberry Pi arcade machine is now complete. Here are a few pictures of Mario land on GB and new, and a picture of the NES emulator in the Retropie main menu.
Source: Raspberry Pi Arcade