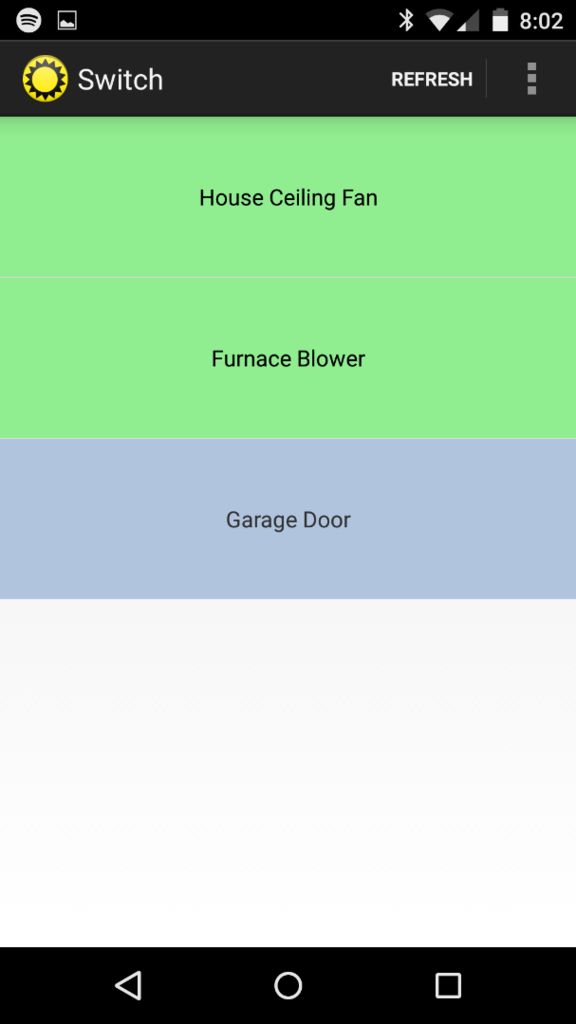
Control relays connected to you RaspberryPi using Android app. Setup multiple RaspberryPi devices around your house. Single device can operate up to 8 relays and all of them are self-discoverable using lightweight network protocol. No complicated setup. Name each relay, give its type (button, switch) and operate it from a dead simple app interface.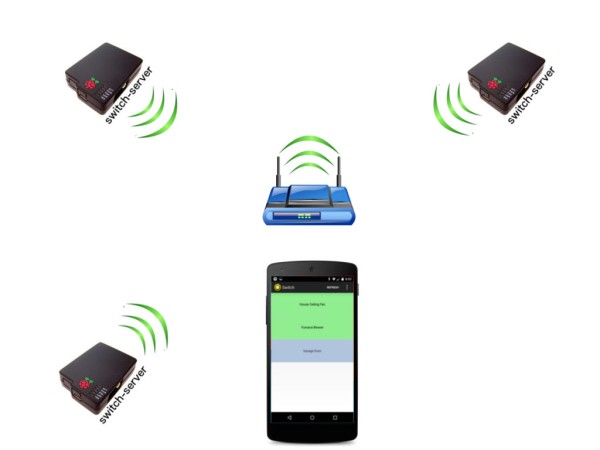
For ex. you can connect one of your RaspberryPi to a garage door and furnace blower, and another device to a house ceiling fan and be able to control them using Android app when you are on your home network with a click of a button.
Step 1: Install Android App
Install RaspberryPi Switch Android app from Google Play
When connected to home WiFi, app discovers all available switch-servers on your local network and allows you to control them. Discovery mechanism relies on broadcasting UDP messages, so your network router should not drop packets with broadcast addresses (by default broadcast messages are not dropped by consumer-grade routers unless you configured your network differently)
Step 2: Install Raspbian OS
ou can find full instructions on official RaspberryPi website
Quick steps for Mac users to copy image on SD card
1.DownloadRaspberryPi image
2. Identify the disk (not partition) of your SD card. e.g. disk4 (not disk4s1)
diskutil list
3. unmount it
diskutil unmountDisk /dev/disk4
4. Copy image on your SD car (takes a very long time, to speed it up use /dev/rdisk# instead of /dev/disk#)
sudo dd bs=1m if=2012-12-16-wheezy-raspbian.img of=/dev/disk4
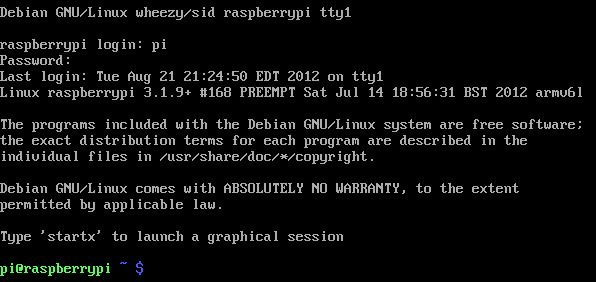
Default credentials that come with the image
username: pi
password: raspberry
Step 3: Install Pi4j Library
Pi4J is an API and implementation libraries for Java Applications to access the full I/O capabilities of the Raspberry Pi platform. Full instructions can be found on pi4j webiste or simply run the following command in the RaspberryPi terminal
curl -s get.pi4j.com | sudo bash
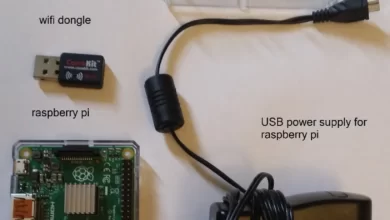
Step 4: Connect RaspberryPi to Your Local Home Network
You can connect your RaspberryPi to a home network using:
- WiFi adapter
- Powerline Adapter
- wire it directly to your router
Quick tip if you are using Edimax WiFi USB adapter:
1. Replace content of the file /etc/network/interfaces (sudo vi /etc/network/interfaces) with
auto lo

iface lo inet loopback iface eth0 inet dhcp
allow-hotplug wlan0
auto wlan0
iface wlan0 inet dhcp
   wpa-ssid "YOUR-WIFI-NETWORK-NAME-GOES-HERE”
   wpa-psk "YOUR-WIFI-NETWORK-PASSWORD-GOES-HERE"
2. Disable WiFi adapter power safe mode
sudo sh -c "echo 'options 8192cu rtw_power_mgnt=0 rtw_enusbss=0' > /etc/modprobe.d/8192cu.conf"
3. Reboot
Step 5: Install Switch-server
Switch-server is a small java app that runs on your RaspberryPi, controls its GPIOs and makes them discoverable so they can be controlled remotely.
Follow installation instructions on switch-server github page.
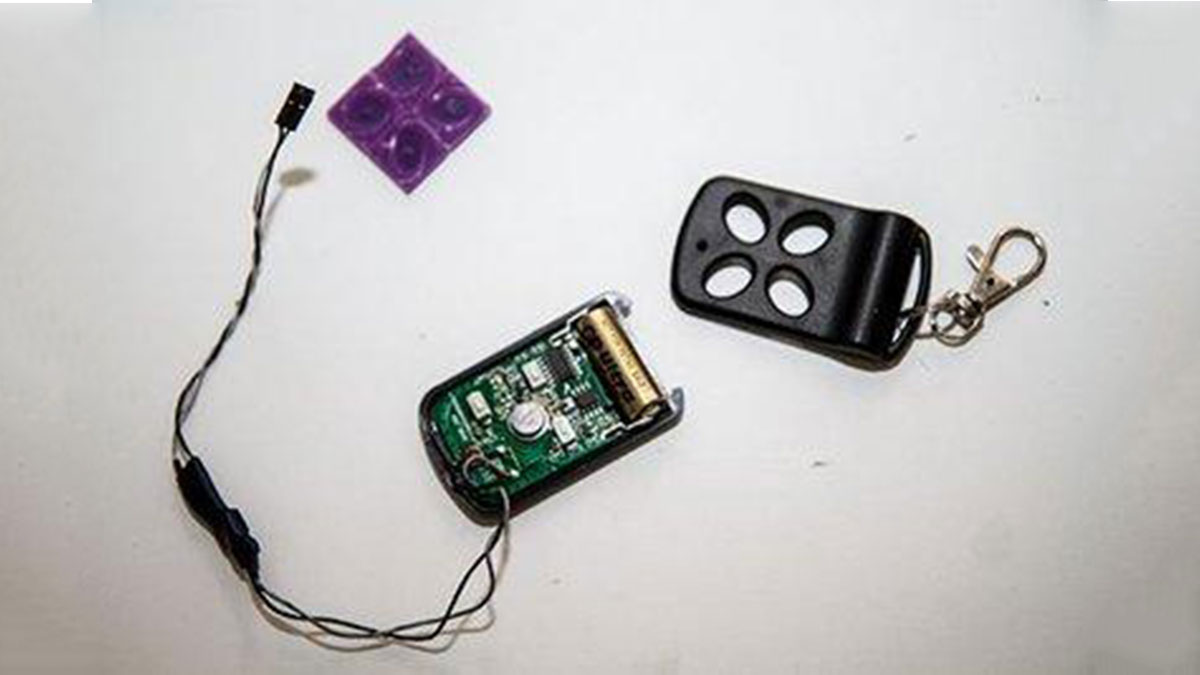
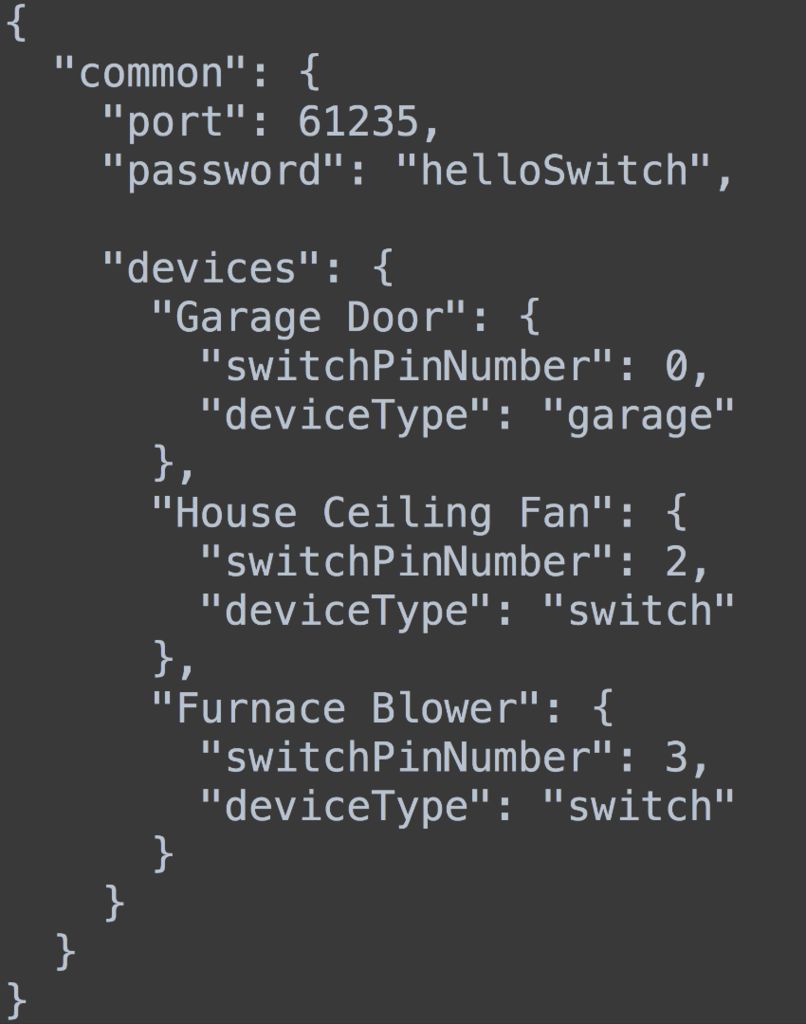
You can now connect relays or other gadgets to GIPOs on your raspberry pi, tell switch-server their names and pin numbers they are connected to, and control them via Android app.
You can also run switch-server locally from your laptop if you just want to play with Android App or if you make changes to the server code and want to try it first without installing on the RaspberryPi device.
Tips:
- To start switch-service on boot add following crontab command (sudo crontab -e): “@reboot java -jar /home/pi/switch-server.jar –config /path/to/config.json“
- If you installed Raspbian OS, you can place your switch-server jar file under /boot/partition that is FAT32 and visible on Windows and Mac when you mount SD card. This way you can easily update server jar or config.json files from your laptop without ssh-ing to RaspberryPi.